Publishing Service v2.0 - Quick Start Guide
Goals
This quick start guide is designed to get you up and running with the Publishing Service so that it can be evaluated in a local development environment. This guide does not go into specific detail about each action. More in-depth information can be found in the full Installation and Configuration Guide.
The goals of this guide are to:
- Setup the Publishing Service to connect to our Sitecore databases.
- Run the Publishing Service in Development mode.
- Install the Publishing Service package into a clean instance of Sitecore.
- Run a basic publish.
- Install the Publishing Service into IIS.
Prerequisites and Assumptions
It is assumed that a new/clean version of Sitecore 8.2 Update 2 (rev161221) is installed.
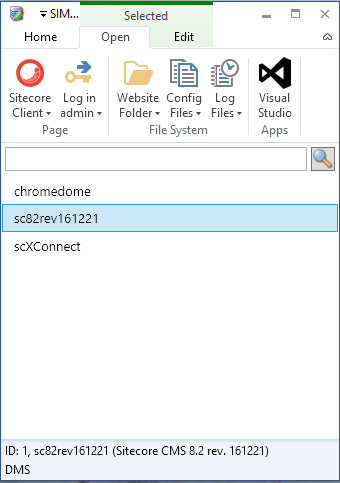
TIP : Sitecore can be installed quickly and easily using the Sitecore Instance Manager or SIM. More information can be found on the Sitecore Instance Manager site.
In this example, we have let SIM automatically install our SQL databases for us and they are named as such (Looking in SQL Management Studio):

Publishing Service Installation
If you havent done so already, go ahead and download the Sitecore Publishing Service 2.0.0 rev. 170130 zip file from the Sitecore Developer site.
Installation involves simply extracting the zip file to the filesystem.
NOTE : For this guide we have extracted the Publishing Service to the path: C:\PublishingService
Configuring the service
Our first step is to tell the Publishing Service how to connect to our Sitecore databases so that it can read and write to them. To do this we will be using the command line. This can either be a PowerShell or normal Command Prompt window.
NOTE: The command window must be started as an Administrator in order to perform some of the actions later on.
Sitecore.Framework.Publishing.Host.exe : this is the main executable that will run the service but has a set of built-in tools that will help us to set up and configure everything we need.
Setting up connection string
The Publishing Service has a set of commands that allow us to perform certain helpful actions as we run and configure the instance.
(More information on commands can be found in Chapter 4 of the Installation and Configuration Guide)
The first command we will run is configuration - this allows us to modify a section of configuration.
It has a special sub-command called setconnectionstring specially designed for supplying connection string information that will allow the Publishing Service to connect and work with Sitecore databases we have in our setup.
It is invoked as follows:

TIP : You can find extra information about any command or sub-command by adding --help to the end of it.
For our example, we want to setup connection strings for the web, master and core databases.
If we take core as our first example. To write the configuration setting we pass the parameters core plus our connection string for the core database to the setconnectionstring sub-command.
For example:
.\Sitecore.Framework.Publishing.Host.exe configuration setconnectionstring core ‘Data Source=.\SQLEXPRESS;Initial Catalog=sc82rev161221Sitecore_core;Integrated Security=False;User ID=sa;Password=12345;MultipleActiveResultSets=True’
NOTE: The command will automatically add MultipleActiveResltSets=True to the end of any connections strings - this is needed so that we can communicate to SQL Server in batches.
More information can be found in the Installation and Configuration Guide.
Doing this for each of the three databases should result in output like this:


Validate Configuration
These commands will have created a file called sc.connectionstrings.json in the global folder of the config folder found in the root of the Publishing Service installation directory (in our example C:\PublishingService\config).
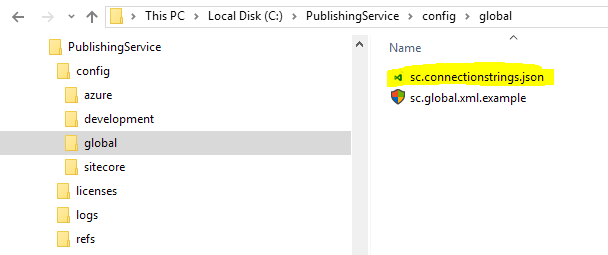
Opening this file in a text editor can confirm that they have been added correctly.

TIP: Any configurations located in the global folder are available to all environmental configuration types (for example production and development)
NOTE : You can read how the different configuration folders are used in the Installation and Configuration Guide.
Installation of the schema tables
For the Publishing Service to function correctly, we need to install a set of support tables into the SQL databases. We call this the schema.
This is where we use our second command schema.
We need to issue the command:
.\Sitecore.Framework.Publishing.Host.exe schema list
This will check the schema versions installed to each database. This will also validate that we can connect to the Sitecore databases correctly.
You should get an output like this:

This shows the current schema version to be 0 or Not Installed. This is expected as these are clean databases that have not had the Publishing Service installed onto them before.
NOTE: If you get any errors while running this command you may need to check your connection strings or account permissions.
We now need to upgrade (install) the schema on each database. We do this with the upgrade sub-command.
.\Sitecore.Framework.Publishing.Host.exe schema upgrade --force
You should get an output like this:

To validate the installation just run the schema list command again.

We can now see that the databases are all running schema version 2, which is needed for v2.0 of the Publishing Service.
Starting the service in ‘Development’ mode
We are now ready run the Publishing Service for the first time.
By default, the Publishing Service outputs any messages to a log file (found in the logs directory).
For this example, we are going to temporarily run the service in Development Mode. This mode will allow us to see Debug (DBG) message output and also everything will be logged to the console as well as the log file.
This is useful for diagnosing any errors in these early setup phases.
To start the Publishing Service in Development Mode you need to pass the parameter development to the environment switch.
.\Sitecore.Framework.Publishing.Host.exe --environment development
The Publishing Service will start up and you should see output like this:
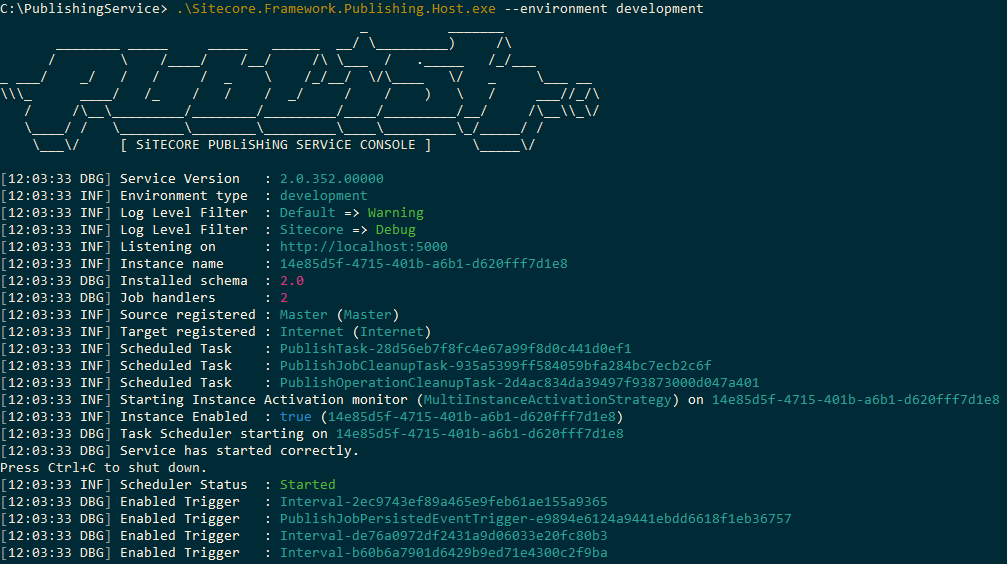
The Publishing Service is now running in development mode.
This is running directly from the console, you can shut down the service by pressing Ctrl+C.
NOTE: If you start the service without the environment switch then the service will start in Production mode which only shows Information (INF) level messages and outputs only to the log file.
There is a lot of information being displayed here, this is obviously too much for regular day-to-day usage but helps us diagnose any problems and see what modes and configuration switches have been enabled.
Keep the Publishing Service running for now while we install the Sitecore module package.
Installing the Publishing Service Module package
The second zip you need to download is Sitecore Publishing Module 2.0.0 rev. 170130 which is available on the Sitecore Developer site.
Log into Sitecore as an Administrator and locate the Installation Wizard.
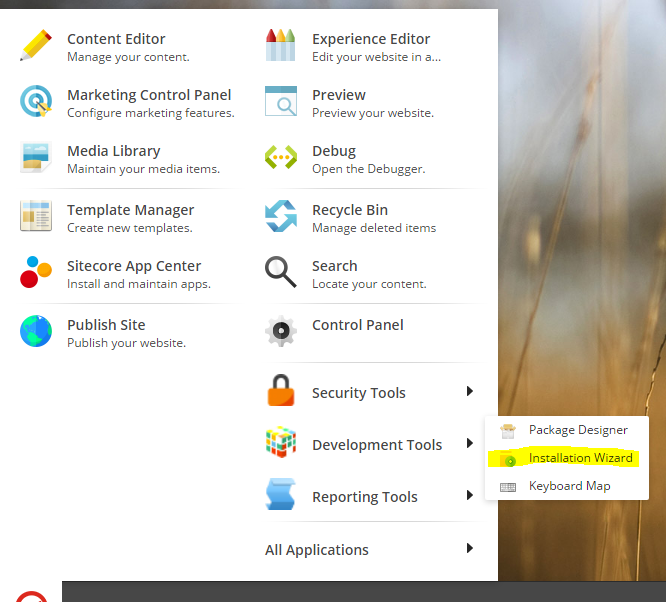
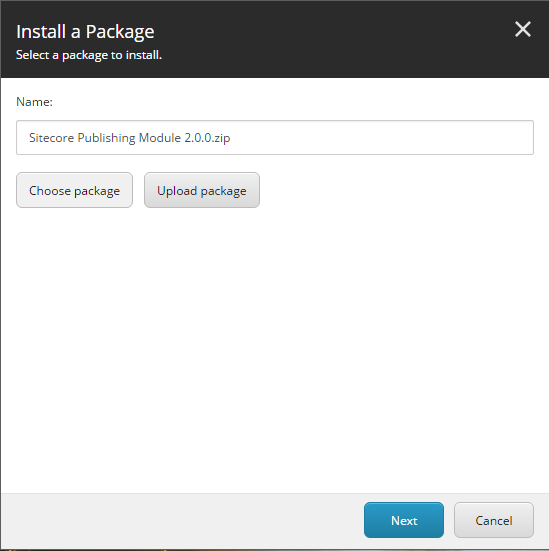
.. and install / upload the Sitecore Publishing Module 2.0.0 rev. 170130 package.
Once the installation has completed you should now see new configuration files in the App_Config/Include directory.
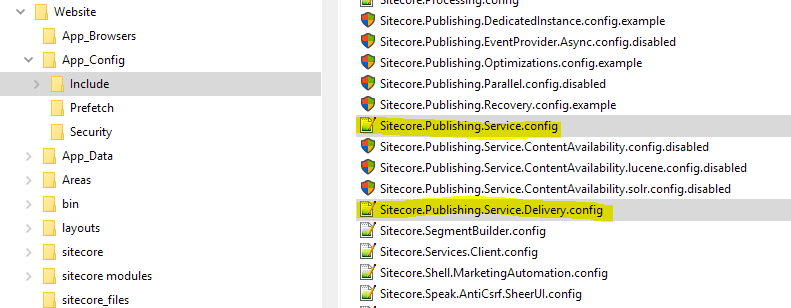
We need to edit one of these files.
Open the one called Sitecore.Publishing.Service.config and change the PublishingServiceUrlRoot value. This tells Sitecore which URL the Publishing Service is running on.

Until we install into IIS (later in this guide), the Publishing Service will be running on http://localhost:5000. This is the default URL and port for the service to try and run on.
Running our first publish
Log into Sitecore as an administrator (as we will be needing elevated permissions for this next step.)
We now need to open the new Publishing Dashboard. This is a SPEAK application that allows us to monitor what’s going on with the Publishing Service from inside our Sitecore CM instance.
We load the dashboard by selecting the newly installed Publishing icon from the LaunchPad.
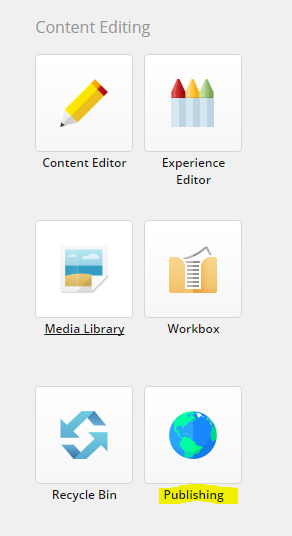
We are going to be publishing all items in repair mode. You can think of this like republish in the old publishing system (but much faster!).
As we are logged in as an administrator we can see the ‘Publish all items’ button at the top left of the dashboard.
Click this and select Repair mode.

We are instructing the Publishing Service to publish every item in our Sitecore instance.
When the publish runs normally it will compare the source item being published with the corresponding item on the target and skip that item if it sees that no fields have changed. (source is often ‘master’ and target is often ‘web’).
Repair mode tells the Publishing Service to skip this comparison and publish everything again.
We are using this example as this will display the most output and help you see what the publish is doing in the different stages.
NOTE: As this could be an expensive operation and not something that should occur often and not be needed by regular users, it is restricted to Administrator level accounts only.
Once you click the Publish button the publish is queued and you can switch back to your command window.
You will see output similar to this:
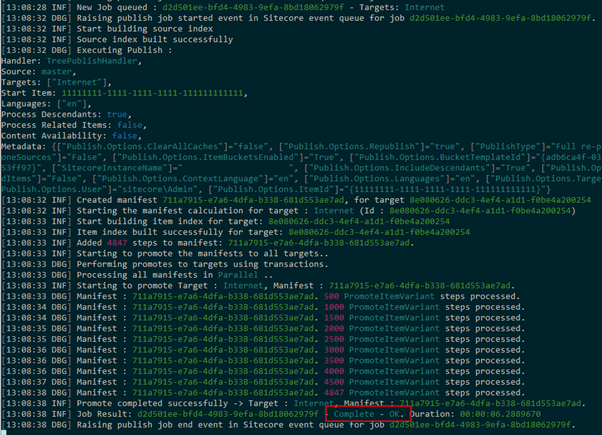
There is a lot of information here but what you are seeing is that the publishing job was queued, then accepted and then processed.
The key thing to look for here is that Complete – OK message at the end. This means that everything worked correctly.
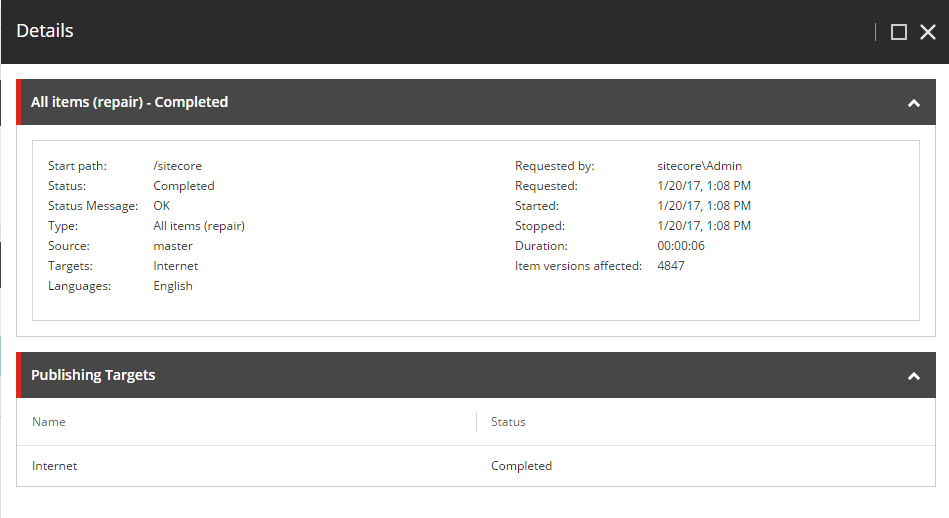
You can also validate that the publish completed successfully by looking in the Recent Jobs panel of the dashboard.

You can click on a row and see the details about that publish.
Hosting the Publishing Service in IIS
Prerequisites
To host the Publishing Service in IIS you must have installed Windows Server Hosting (.NET Core) which can be downloaded from Microsoft.
This allows the Publishing Service process to be correctly hosted in an IIS process and lets IIS manage the lifestyle of the process from IIS Manager.
Install into IIS
Having the Publishing Service run from a command window is great for debugging and development but not ideal for production or day-to-day usage.
Instead, we are going to use IIS to host the Publishing Service, this means that when IIS starts it will bring up the Publishing Service and manage all connections to it and restart it when necessary.
To install into IIS we need to use another command, this time called iis.
NOTE: If you haven’t already done this, stop the Publishing Service using Ctrl+C in the command window.
We need to issue the command:
.\Sitecore.Framework.Publishing.Host.exe iis install --hosts --force
The --hosts switch tells the command to update the hosts automatically file for you.
This should produce output like this:

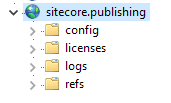
This shows that the Publishing Service has been registered with IIS under the default instance name of sitecore.publishing.
You can confirm this installation in IIS Manager itself.
We now need to update the PublishingServiceUrlRoot setting we ammended earlier in the App_Config/Include/Sitecore.Publishing.Service.config file and point it to the new IIS endpoint.

Once this is done you can restart IIS. This will start the Publishing Service instance.
Validating the IIS installation
The logs for the Publishing Service are stored in the logs directory.
NOTE : In this example, they will be available in C:\PublishingService\logs\.

If you open the log in a text editor, you should be able to see that the Publishing Service has started again but this time in the default Production mode.

You can also validate the installation by going to one of the REST endpoints such as the jobs status controller by opening
http://sitecore.publishing/api/publishing/jobs/status
in your web browser.

Status:0 means that everything is working correctly and the service is running.
Final Words
This quick start guide provides only a very quick example of how to set up the Publishing Service. More in-depth information can be found in the full Installation and Configuration Guide..